From the Green House #2 October 2024 - I Guess I Like Purple Designing a garden is such a personal thing. It reflects your taste, your style, and your personality. That's why I enjoy walking through someone else's garden. Not only can I gain inspiration from someone else's ideas, but it tells me something about the gardener. Well, when you see my garden on the east side of my house, you will know that I like purple. You will also see that I like plants to intermingle and be a little bit wild. I hope you'll also see something beautiful in it no matter what time of year it is. My Instagram feed is full of inspiring gardens from around the world, but the one that I kept going back to is a garden designed by Evely Ustav who lives in Estonia. (I had to look that one up. It's a country in Northern Europe next to Russia.) She posts pictures of this border throughout the year, and it is beautiful in every season. I knew that's what I wanted, too. So I began with a list of plants - some that she used in her design, and some that were must-haves for me. I knew purples and whites would play well off of the green color of the house, so that was a given. Then I got a little nerdy and created a mashup of the plants on my list. It's a design trick I passed on to my students when I was teaching Intro to Landscape Design a few years ago. Shown above are: top row: Hydrangea 'White Diamond', Nepeta siberica (a tall form of Catmint), Miscanthus gracillimus (the ornamental grass), Perovskia atriplicafolia (Russian Sage) bottom row: Clematis 'Arabella', Agastache 'Golden Jubilee', Echinacea purpurea 'Ruby Star' (Purple Coneflower), Eryngium yuccifolium (Rattlesnake Master), the existing purple Iris, and Salvia 'Caradonna'. By the way, a mashup is simply made on Google Slides using images of the plants and mashing them all together on one slide to give you an idea of the colors and textures of the plants in that bed. It's easy and fun to do, and I find it extremely helpful when trying to visualize the plant combinations. Ok, here's where I get really nerdy in the details of design, so feel free to skip ahead to the next paragraph. The next step was to determine bloom times of the plants, creating a list for each of the seasons as well as a mashup for each season. Then time to draw it out on paper. I must have tossed those initial sketches or they are buried in a pile somewhere, but I remember spending a lot of time on it. I wanted a garden that I can walk through and become immersed in, so I knew there would be a path through this garden. I started with a curving path, then drew nebulous shapes where plants would go. Next step was to think about plant heights placing 12-36" plants in the front part of the border, and 24-60" plants in the back. Using different colored pencils to represent bloom times, I began to fill in plant names, spacing them out to carry the bloom color through the whole bed. I planted in groups of threes to create a bigger swath of that color, then repeated it two or three times down the length of the garden. In addition to all of this thought that goes into color, bloom time, and plant height, it's important to think about texture, flower form, and how the plants will grow. It's more complex than you might think. This garden isn't perfectly designed, and it will continue to evolve. But whether by luck or by all the thought put into it, I'm really pleased with how it has come together. And I guess that's all that matters. It's expression of me, of my style, my favorite colors, and my personality. However, living on a corner lot, I am very aware of the garden being visible to my neighbors, so I also want it to be something they enjoy seeing, too. How about some plant combinations in this garden? Above is Nepeta siberica and Veronica 'Kiss the Sky'. Below is Miscanthus gracillimus, Perovskia (Russian Sage), Echinacea 'Ruby Star', Eryngium (Rattlesnake master), and on the very left is Sanguisorbum 'Plum Drops'. The photo below was taken on July 1 this year. I'm still amazed at how quickly the plants filled in. I love how the shorter catmint is so blousy. I repeated the grouping of daisies, catmint, summer alliums, and lavender along the front of the border. The tall upright grasses are Calamagrostis 'Karl Foerster' and act as living punctuation marks. There is much more to share, but that's for another time. I'll close with this quote that I heard yesterday and it resonates well with me:
"The pleasure (in gardening) has been the becoming rather than any kind of finite end" - Monty Don Isn't this why we do it? Isn't this why we love to work the earth, plant a seed, and watch it become something beautiful? The joy is in the becoming, and that goes beyond the garden. Blessings to you, friend.
1 Comment
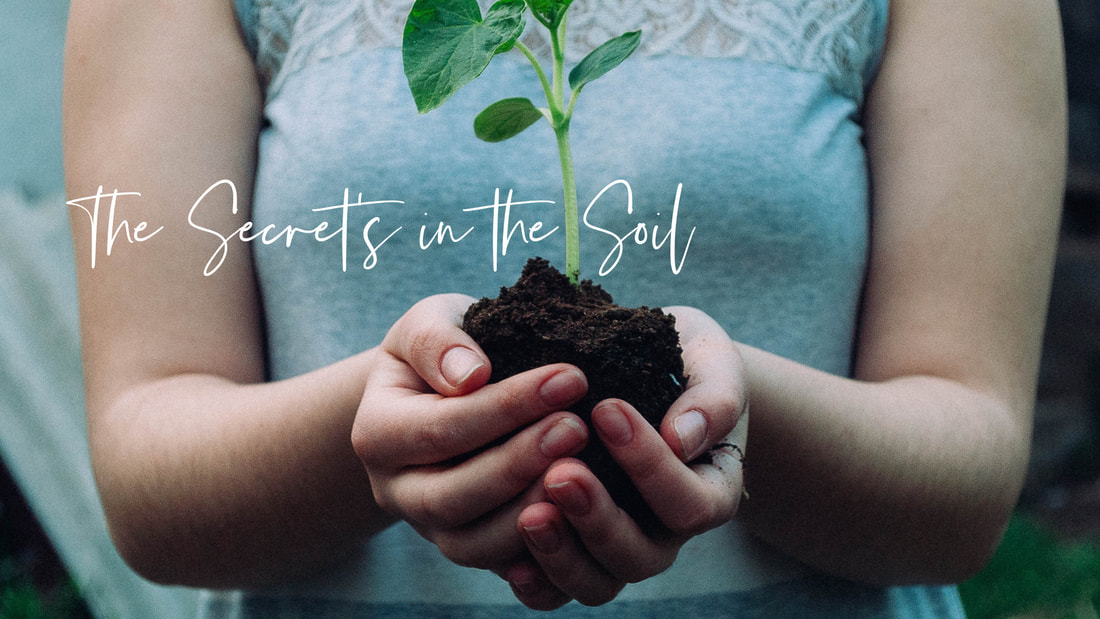
In her book ‘Garden Maker’, Christie Purifoy writes, “Flower gardens don’t begin with flowers. They don’t even begin with seed. They begin with desire and vision, and they begin with dirt.” It’s this latter element, “dirt” that we are learning more and more about its importance in the health of our plants. First, let’s give it a better name: soil. Soil health is the secret sauce in growing healthy plants in the landscape, in containers, and in the vegetable garden. What is healthy soil? First some basics about soil:
How do we achieve healthy soil? If you are starting a new garden, try the no-dig approach and build your growing bed on top of the ground. Begin with layers of cardboard and newspaper, then add layers of greens and browns which are the ingredients for compost! You can even do this in raised beds. As with all things in nature, it takes time for the layers to break down. Adding topsoil or good compost into the layer mix will speed things up because they contain those hungry microbes. In existing gardens, adding compost to the beds in the fall is the best time, but a spring application is effective, too. Some vegetable gardeners will add compost between summer and fall crops. What kind of compost? The best kind of compost is free and in your backyard! Leaf compost is the best amendment for vegetable gardens as well as ornamental beds. This spring you may need to find a supplier, but commit to mulching and composting the leaves from your trees and your neighbor’s trees this fall. Adding microbes to the soil at planting time is another way to work towards healthy soil. Often they are available in liquid form. A tip that I have learned is that the most effective liquid forms of microbes need to be kept chilled. Dry soil additives that contain mycorrhizae such as Espoma’s Bio-tone Starter are also beneficial. Use when planting and transplanting vegetables, perennials, trees, and shrubs.
And one more free, easy practice to improve soil health is in the perennial garden. Spring is often when we cut back any remaining dead stems. Cut the stems into 4-6” pieces and leave them there - right by the plants. The dead material will break down and provide food for the soil microbes right where it’s needed - by the plant roots. This can be a difficult practice to embrace because we love the look of a neat, tidy, freshly-mulched bed. But by letting go of what WE like, it is actually benefiting the plants, the pollinators, and in the end, us. Be part of the circle and try this new gardening ethic. So there you have it. The secret to having a healthy garden has been there right under our noses - or rather under our feet - the whole time. If you'd like to learn more about building healthy soil, join me for our next 'Let's Talk Plants" - a free monthly virtual gardening discussion on Wednesday, April 13 at 6:30 pm. Register by emailing me at [email protected]. Happy gardening! |
AuthorHi, I'm Tracy - horticulturist, beauty-seeker, Word-lover, and blessed to be the owner of Bella Botanica. I also love to write about plants, gardening, and about my faith journey. Thanks for reading! Archives
November 2024
Categories
All
|